Showing posts with label Amy. Show all posts

Tuesday, October 28, 2014

Fireweed + Cotopaxi - Round 2!

Oh hey there!  We have to apologize that we've been a little bit MIA the past while - with Jessica having a new baby boy just a couple weeks ago and Amy traveling back to Australia and getting settled again its been a hectic month!  But we are back with more from one of our favorite gear suppliers, Cotopaxi!  

Just a few weeks ago, I (Amy) did a hike with our youth group from church.  We climbed one of the Glass House Mountains located in the Sunshine Coast Hinterlands, just a couple hours north of Brisbane.  Mt Ngungun wasn't a long hike, but it was sure steep, and on a hot day I was sure glad that I had my Cotopaxi insulated waterbottle.  You guys.  These things are incredible!  I've tried insulated waterbottles before, but it was so so so hot out and this thing kept my water just as cold as when I filled it up.  And we all know there's nothing better than a nice cold drink of water to soak up some gorgeous views, right?


You won't regret picking yourself up one of these for your next adventure!  I can't wait to try it with some hot chocolate for my next winter hike!

Thursday, July 3, 2014

Stuff We Eat: Coconut Chia Seed Pudding

Good morning everyone!  Amy here.  I'm back from a little hiatus on the blog with a delicious breakfast for you!  I used the coconut chia seed pudding recipe from here and seriously died it was so good!  I didn't have any raspberries or coconut on hand, but I would definitely add it next time because it would be divine!

Coconut Chia Seed Pudding:
 
12 ounces Greek yogurt
1 cup coconut milk
2 tablespoons honey
3 tablespoons chia seeds
fresh raspberries, optional
coconut chips, optional

Mix together yogurt, milk, and honey until well combined. Stir in chia seeds. Divide into three portions and cover with plastic wrap. Let sit for 1 hour or until set. Garnish with fresh raspberries and coconut chips and enjoy!


Thursday, June 5, 2014

Stuff We Eat: Energy Bites

In my mind a good lunch is absolutely essential to a good hike.  After spending an exhausting few hours getting to the top of a mountain peak or a pristine glacier lake, there is nothing better than kicking off your hiking boots, having something delicious to snack on, and taking a quick little nap (or going for a swim if you're ambitious!)

These energy bites are a must have in my pack these days.  Let's be honest, everyone loves a good treat at the end of the trail, and these are just right for satisfying my sweet tooth.  Not to mention they sure beat a chocolate bar and a can of pop!
I used the base recipe from here and added in some dried fruit, nuts, and seeds.  Pretty much whatever you've got in your pantry works, so feel free to be creative!
Energy Bites

 - 1 cup rolled oats
 - 2/3 cup coconut flakes (the original recipe says to use toasted but I didn't and it turned out fine)
 - 1/2 cup peanut butter
 - 1/2 cup ground flaxseed
 - 1/2 cup chocolate chips
 - 1/3 cup honey or maple syrup
 - 1 Tbsp chia seeds (optional)
 - 1 tsp vanilla extract
 - large handful of dried fruit (optional - some of my favorites are apricots, dates, or craisins)
 -  1/2 cup seeds/nuts (optional - I usually use sunflower seeds, walnuts, or pecans)
You may need to add a little extra honey and peanut butter, depending on how many seeds, ect. you use.  A tablespoon or so should do the trick!  Combine the dry ingredients, add the honey and peanut butter, and form into balls.  That's it!  I usually freeze mine for a few hours so they don't completely melt during the hike.  Enjoy!


Wednesday, May 7, 2014

10 Hikes to do this Summer

May is here and summer is officially on its way!  Despite the crazy weather that's been going on, it will be time for flip flops and suntans soon enough, and with that comes my favourite activity of all time - hiking.  I absolutely love getting outdoors and breathing the fresh mountain air, taking in breathtaking views, taking a dip in a glacier lake, and snacking on my Eatmore and squished sandwich.  And today I thought I'd share some of my favourite hikes from Waterton Lakes National Park and the surrounding area.
(disclaimer: the difficulty and estimated times are from my personal experience as someone who does a lot of hiking, so judge your ability accordingly before taking on anything too strenuous)

1.  Bears Hump
Distance: 1.4 km one way
Difficulty: moderate
Estimated Time: 1 hour return

Anyone who's spent any amount of time in Waterton knows that this one is a no brainer.  Its steep with a lot of stairs, but the short trip up gives an amazing view for just a short amount of effort.  If you're really ambitious you can time yourself while you run up it.  I think the shortest I've ever heard of is 10 minutes?
2.  Akamina Ridge
Distance: 20 km
Difficulty: moderate-difficult
Estimated Time: 8 hours

This hike's got it all.  Starting from the Cameron Lake road, you follow the trail to Forum falls, then a steep climb up to Forum lake and a scramble up to the top of the ridge.  There's the option of going to Forum Peak before following an amazing ridge line with incredible views.
3.  Carthew-Alderson
Distance: 18 km
Difficulty: moderate
Estimated Time: 6 hours

Probably my favourite of all time.  Beware if you have sore knees though - over half of this one is downhill.  And don't forget your garbage bags to slide down the glaciers on!
4. Mount Blakiston
Distance: 20 km
Difficulty: moderate-difficult
Estimated Time: 11 hours

The tallest peak on the Canadian side of the park.  Check Mount Hawkins off your list as well as you'll hit it on the way up.  Its a bit of a scramble but worth the view at the top!
5. Crypt Lake
Distance: 17.2 km
Difficulty: moderate
Estimated Time: 6 hours

A Waterton classic.  It starts across the lake at Crypt landing and is a gentle climb through the trees until you come to some rocky switchbacks.  A climb through the tunnel later you come to a gorgeous glacier lake.  This one can also be accessed by ridge walking down from Vimy Peak.
6. Vimy
Distance:10.2 km one way (from Chief Mountain Highway)
Difficulty: moderate
Estimated Time: 7 hours

Take the trail less travelled on this one!  You can either ride bikes part way in from the Chief Mountain Highway, or wade across Marquis Hole and follow the shoreline until you hit the trail.  The end is a little bit of a scramble and opens up to views of the prairies, townsite, and down into Crypt lake.
7. Mount Cleveland
Distance: 30ish km (via Stony Indian Pass)
Difficulty: difficult
Estimated Time: 3 days (can be done in a day if done from Goat Haunt)

Hardest hike I've ever done.  At an elevation of over 10,000, this one is not for the faint of heart.  We took the long, scenic way in from Stony Indian Pass, which I'll be honest, is some pretty technical scrambling.  The view is spectacular from this peak, which is the highest on the American side of the park.
8. Crandell Mountain
Distance: 12 km
Difficulty: moderate-difficult
Estimated Time: 7 hours

Funny story - I've never actually finished this one.  It can be done fairly easily from the back side of the mountain, or quite a bit more technical from Bear's Hump.  Know your skill level and give yourself enough time if you choose the technical route, which requires some scrambling across narrow ridges.

9.  Stony Indian Pass
Distance: 43 km
Difficulty: moderate
Estimated Time: 2 days

If you do any backpacking this summer - do this one!  The most gorgeous pass I've ever hiked!  With amazing lakes, waterfalls, and views from ridge lines you CANNOT go wrong!  Its especially amazing in the fall too, when the leaves have started to change colour.
10.  Chief Mountain
Distance: 16 km
Difficulty: moderate-difficult
Estimated Time: 7 hours

With such an iconic mountain, how can you not hike it at least once in your lifetime?  The road getting there can be a bit unclear, so make sure you take someone who knows where they're going.  Then a steep climb up the back on shale and you're ontop of a very narrow mountain!
 So there you go!  A few more things to add to your hiking list this summer!  Did I miss any other hikes that should make the list?

Tuesday, April 8, 2014

Home Decorating on a Budget

Before I got married I had big expectations for my future home.  I have always loved decorating, and rearranged my room monthly as a kid just for the thrill of switching things up.  So naturally, as soon as I got married I started filling my Pinterest boards with ideas of how I was going to decorate our little student apartment.

As soon as I got to Australia, reality hit.  Brandon and I moved here with a couple of suitcases each, and literally had nothing in the home decor department.  Even if I wanted to shop, I didn't know what stores to go to, not to mention the fact that medical school sucked every spare penny we had.  And all the pennies we didn't have.  So I got creative and came up with something that's comfortable, liveable, and somewhat stylish.

I've come up with a few tips along the way, so I thought I'd share some of them with you:

1) Pick a style.  Deciding on the overall look and feel of your home ahead of time can make decisions easier when you are putting it all together.  Does that lamp really go with what's going on in the rest of the house?  Or what fabric should you make your curtains out of?  I decided to go with something eclectic because I feel like I can make pretty much anything work.  Making an inspiration board with colours and textiles that you like can be helpful as well.
2) Second hand is your friend.  Aside from our mattress, every piece of furniture in our house is second hand.  Thrift stores, garage sales, and Gumtree (the Aussie version of Craigslist or Kijiji) are all great opportunities to find quality furniture at a low price.  We got our fridge, washing machine, bed frame, night stands, desk, dresser, couch, chairs, coffee table, and kitchen table all for under $1000!
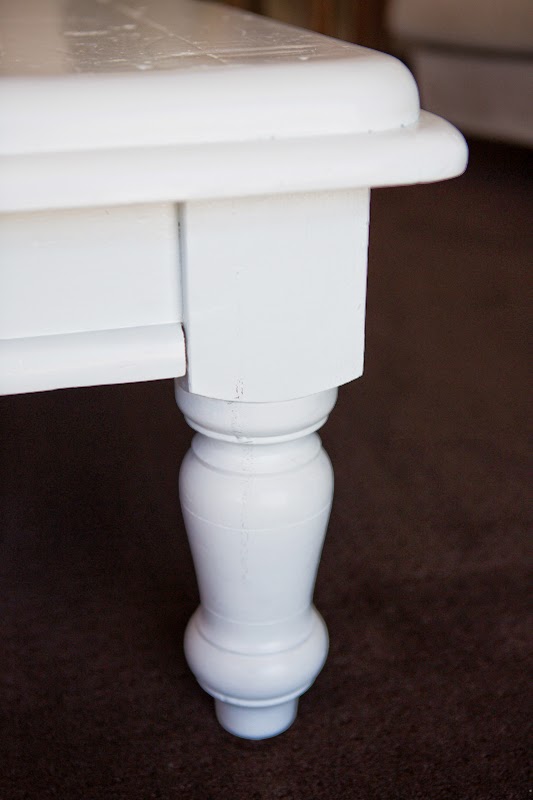
3) Get your craft on.  I am a huge fan of throw pillows.  They just add that extra little bit of colour and excitement to a room, but I couldn't justify spending $40 on ONE throw pillow, so I whipped a few up myself.  If you can sew four straight lines, you can make a throw pillow.  And that dresser?  You should have seen it before the paint job.  A fresh coat can do wonders!
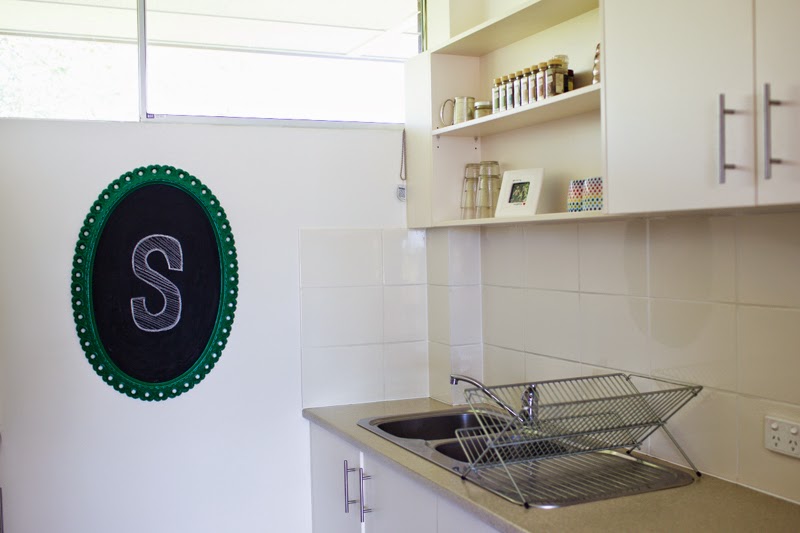
4) Consider vinyl wall stickers or removable wallpaper to liven up rentals.  I love a fresh coat of paint on the walls, but since we are in a rental I have had to come up with other ways to brighten up our room.  My sister-in-law gave me these vinyl wall stickers for Christmas and they were the perfect touch!  They come in all sorts of shapes and colors and can just be peeled off when you move!
5) Decorate with photos.  Its a great way, affordable way to personalize your space.  We printed 24x36  prints of our engagement photos for our wedding, so I brought a couple over and popped one in a frame in our living room.  The print was $15 and I found the frame at a dollar store for $10.  Its a great way to fill a large blank wall, and we get a ton of compliments on it!
 What tips do you have for keeping costs low when decorating your home?  I'd love to hear!